Last Updated: 01 Oct 2023
Introduction
You’ve created your first repository to hold all your work on your new data project on GitHub. Now what? Any typical data science enthusiasts won’t take the time to go through every line of code and file you have, much less an employer from your company of interest. Here are a few practices you can do to inform recruitiers of your genuis.
Table of Contents
- Step 1: Use a README.md file and a GitHub Page
- Step 2: Pin Your Repository On Your GitHub Profile
- Step 3: Selecting Topics
- Step 4: Link GitHub to Your LinkedIn Profile and Resume/CV
- Conclusion
Step 1: Use a README.md file and a GitHub Page
Creating reports on statistics and findings reveals to employers that you know more than just coding and math. The ability to generate digestable reports that are logically follow the process and get to the point is a valued quality of data scientists. In addition, you can choose what to cover in your report: are you most proud of your graphics and visualizations, your experiment’s discoveries, or the machine learning algorithms implemented? On GitHub, you have full jurisdiction over what to brag about and the ability to present it on silver platters.
README.md
Adding a README.md is simple. On GitHub navigate to your repository. When you see your files you can find a button that says “Add README.MD”
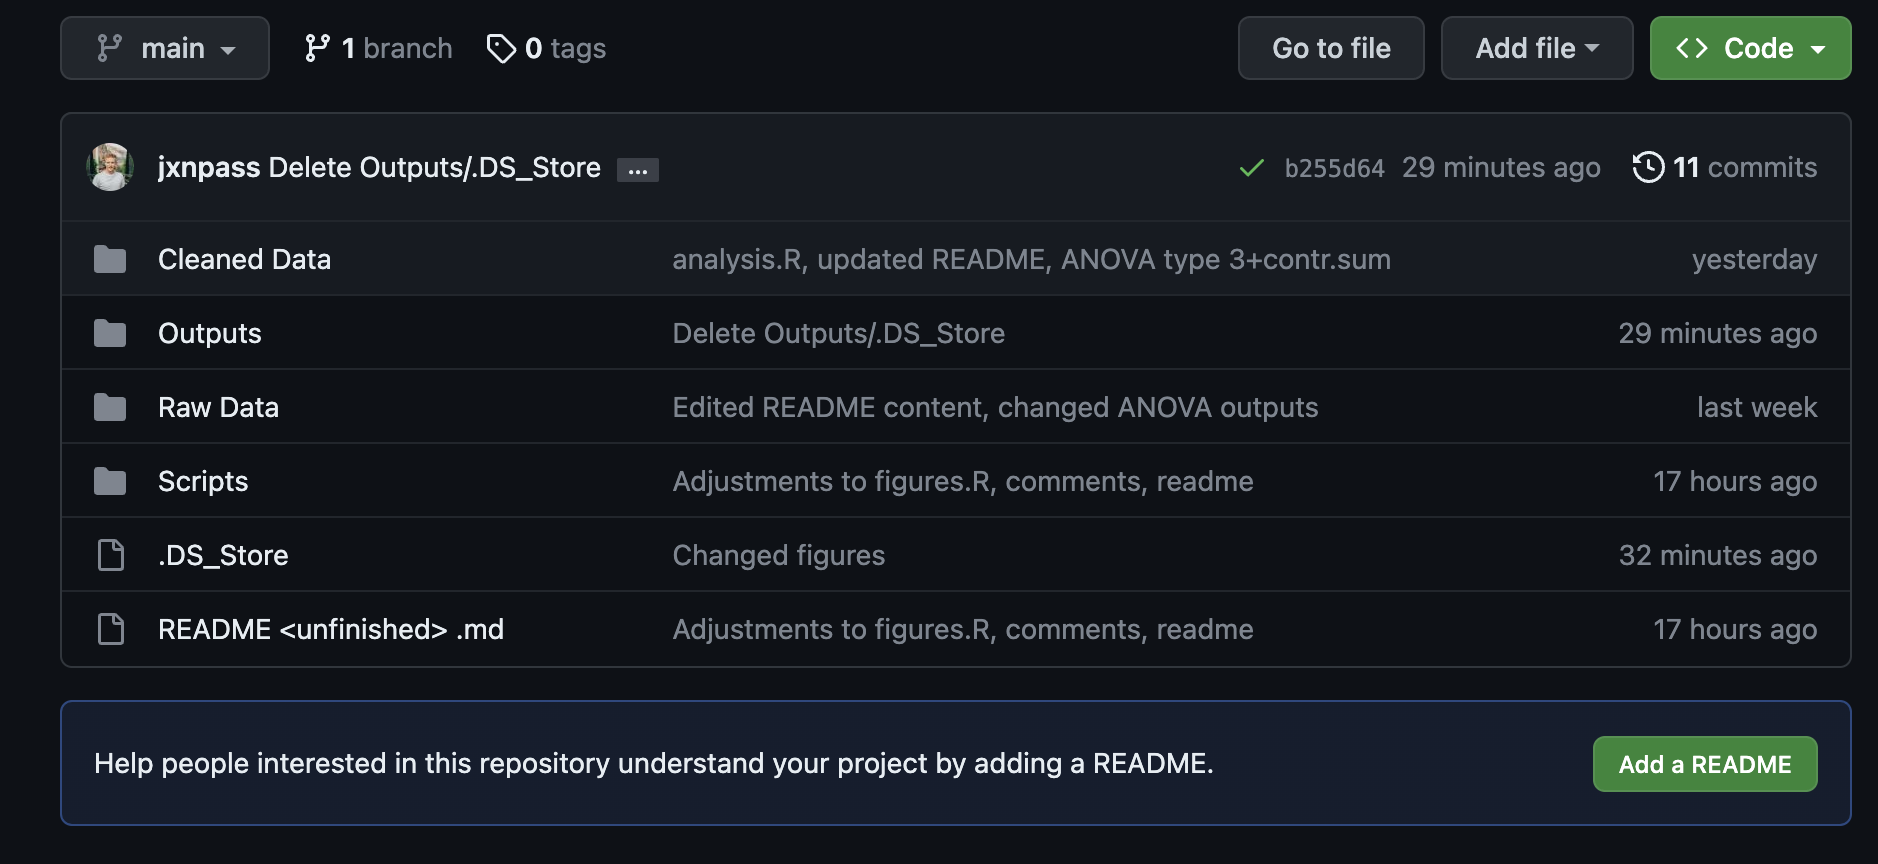 When you select it, a new markdown file will open up. When you finish writing, click “commit changes” and write in your commit message. When you finish, your repository should now have a new README.md file and look something like this:
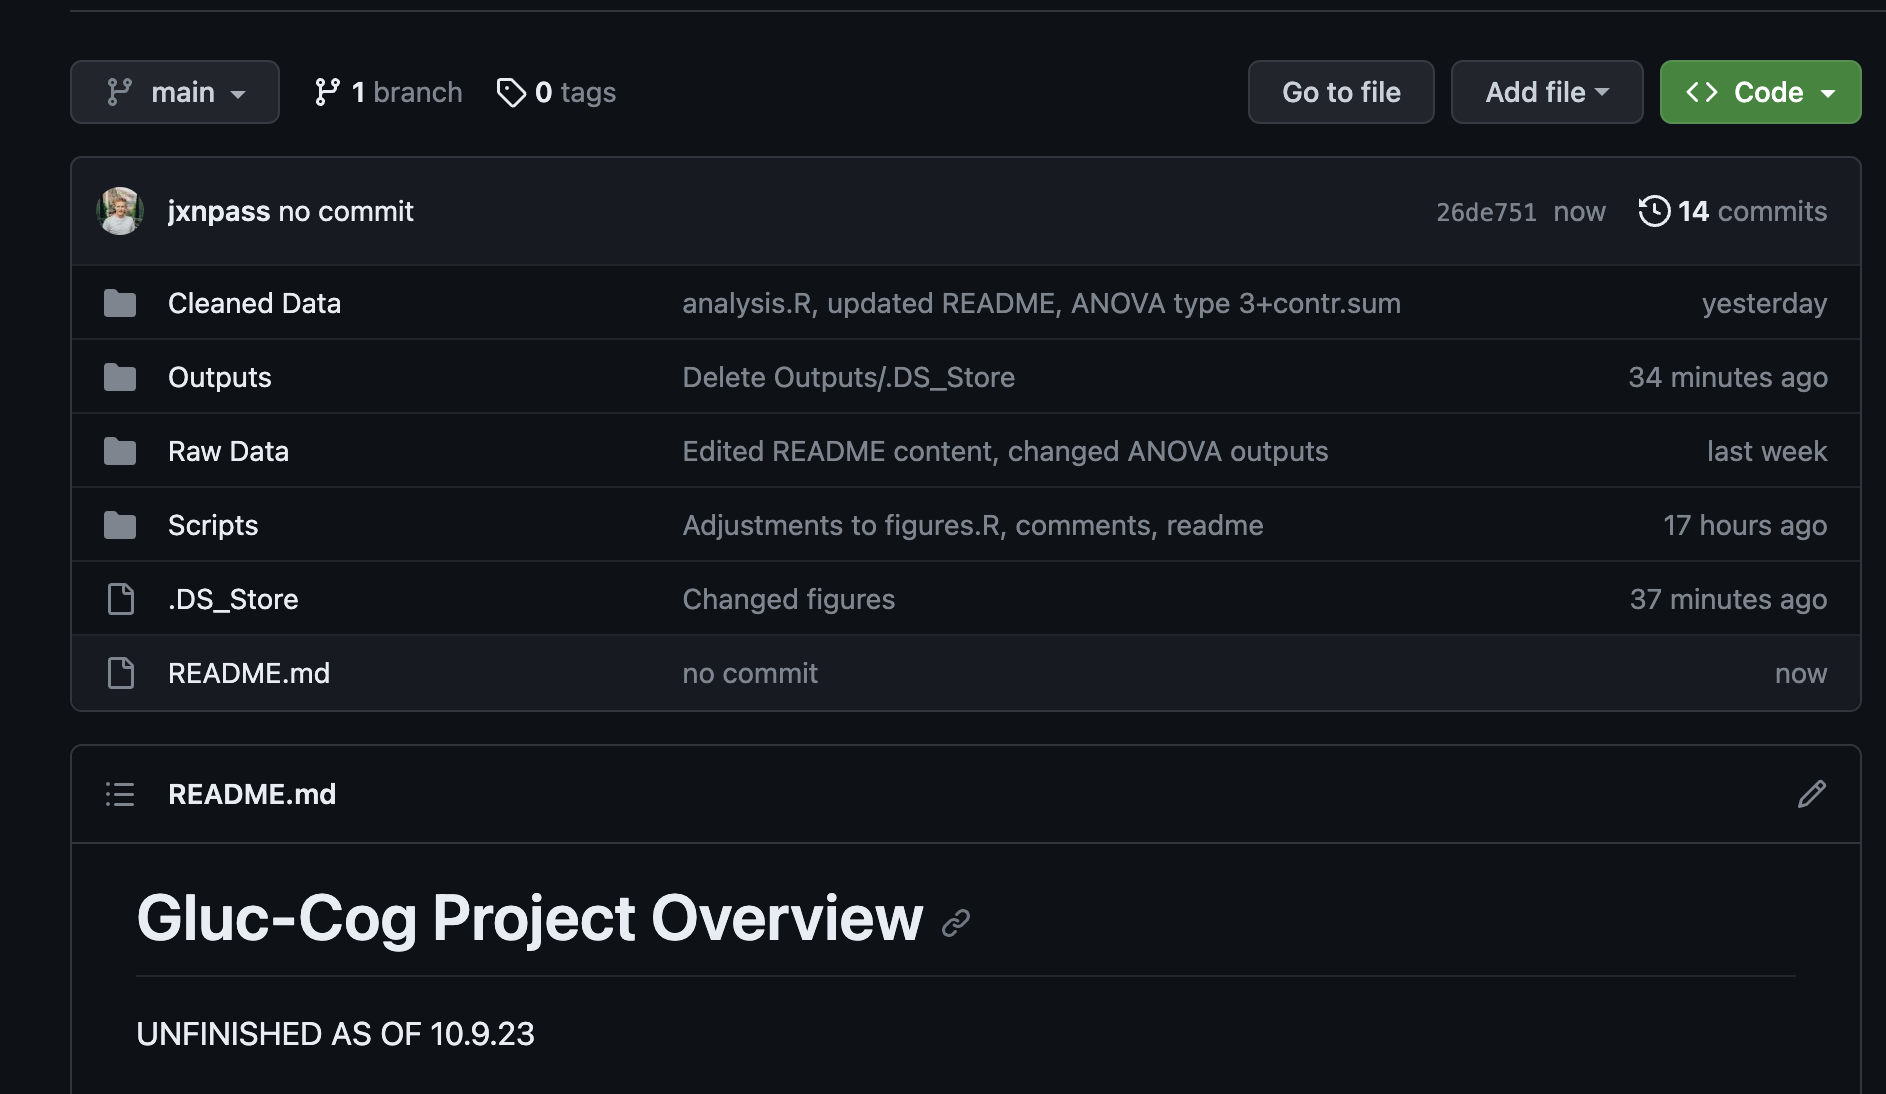
GitHub automatically adds the entire README.md file at the bottom of your repo. This is great for employers, because now all information about your project can be summarized in a very convenient spot!
For more best practices on configuring your README.md file, I recommend using this link.
GitHub Page
Your README.md file can be read as its own website as well. After writing your README.md, find your repository settings and click on “Pages.”
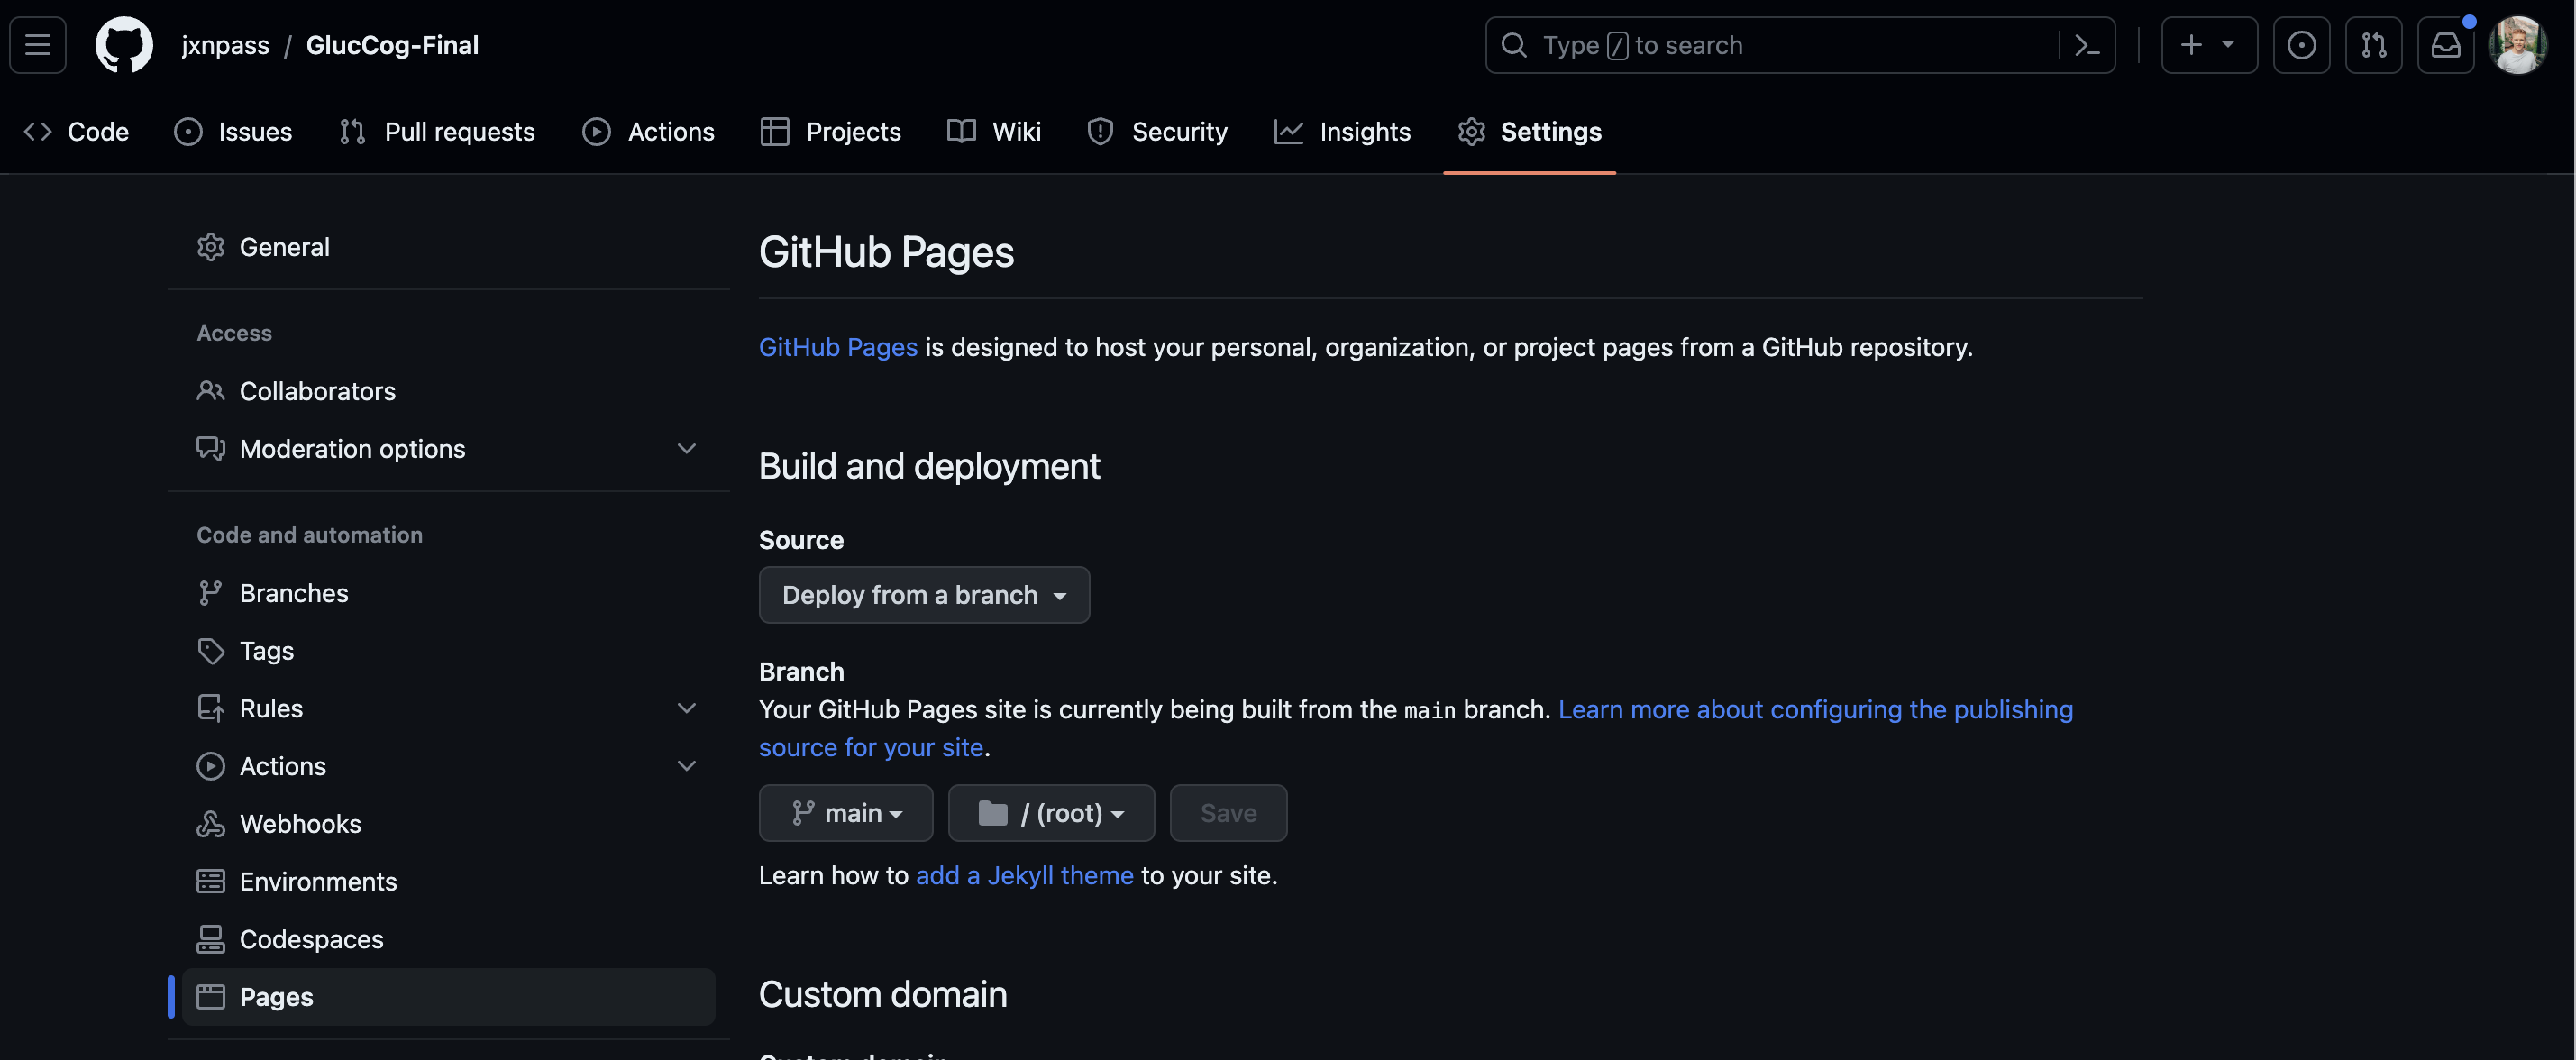
Then, click on “Source” and select “GitHub Actions.”
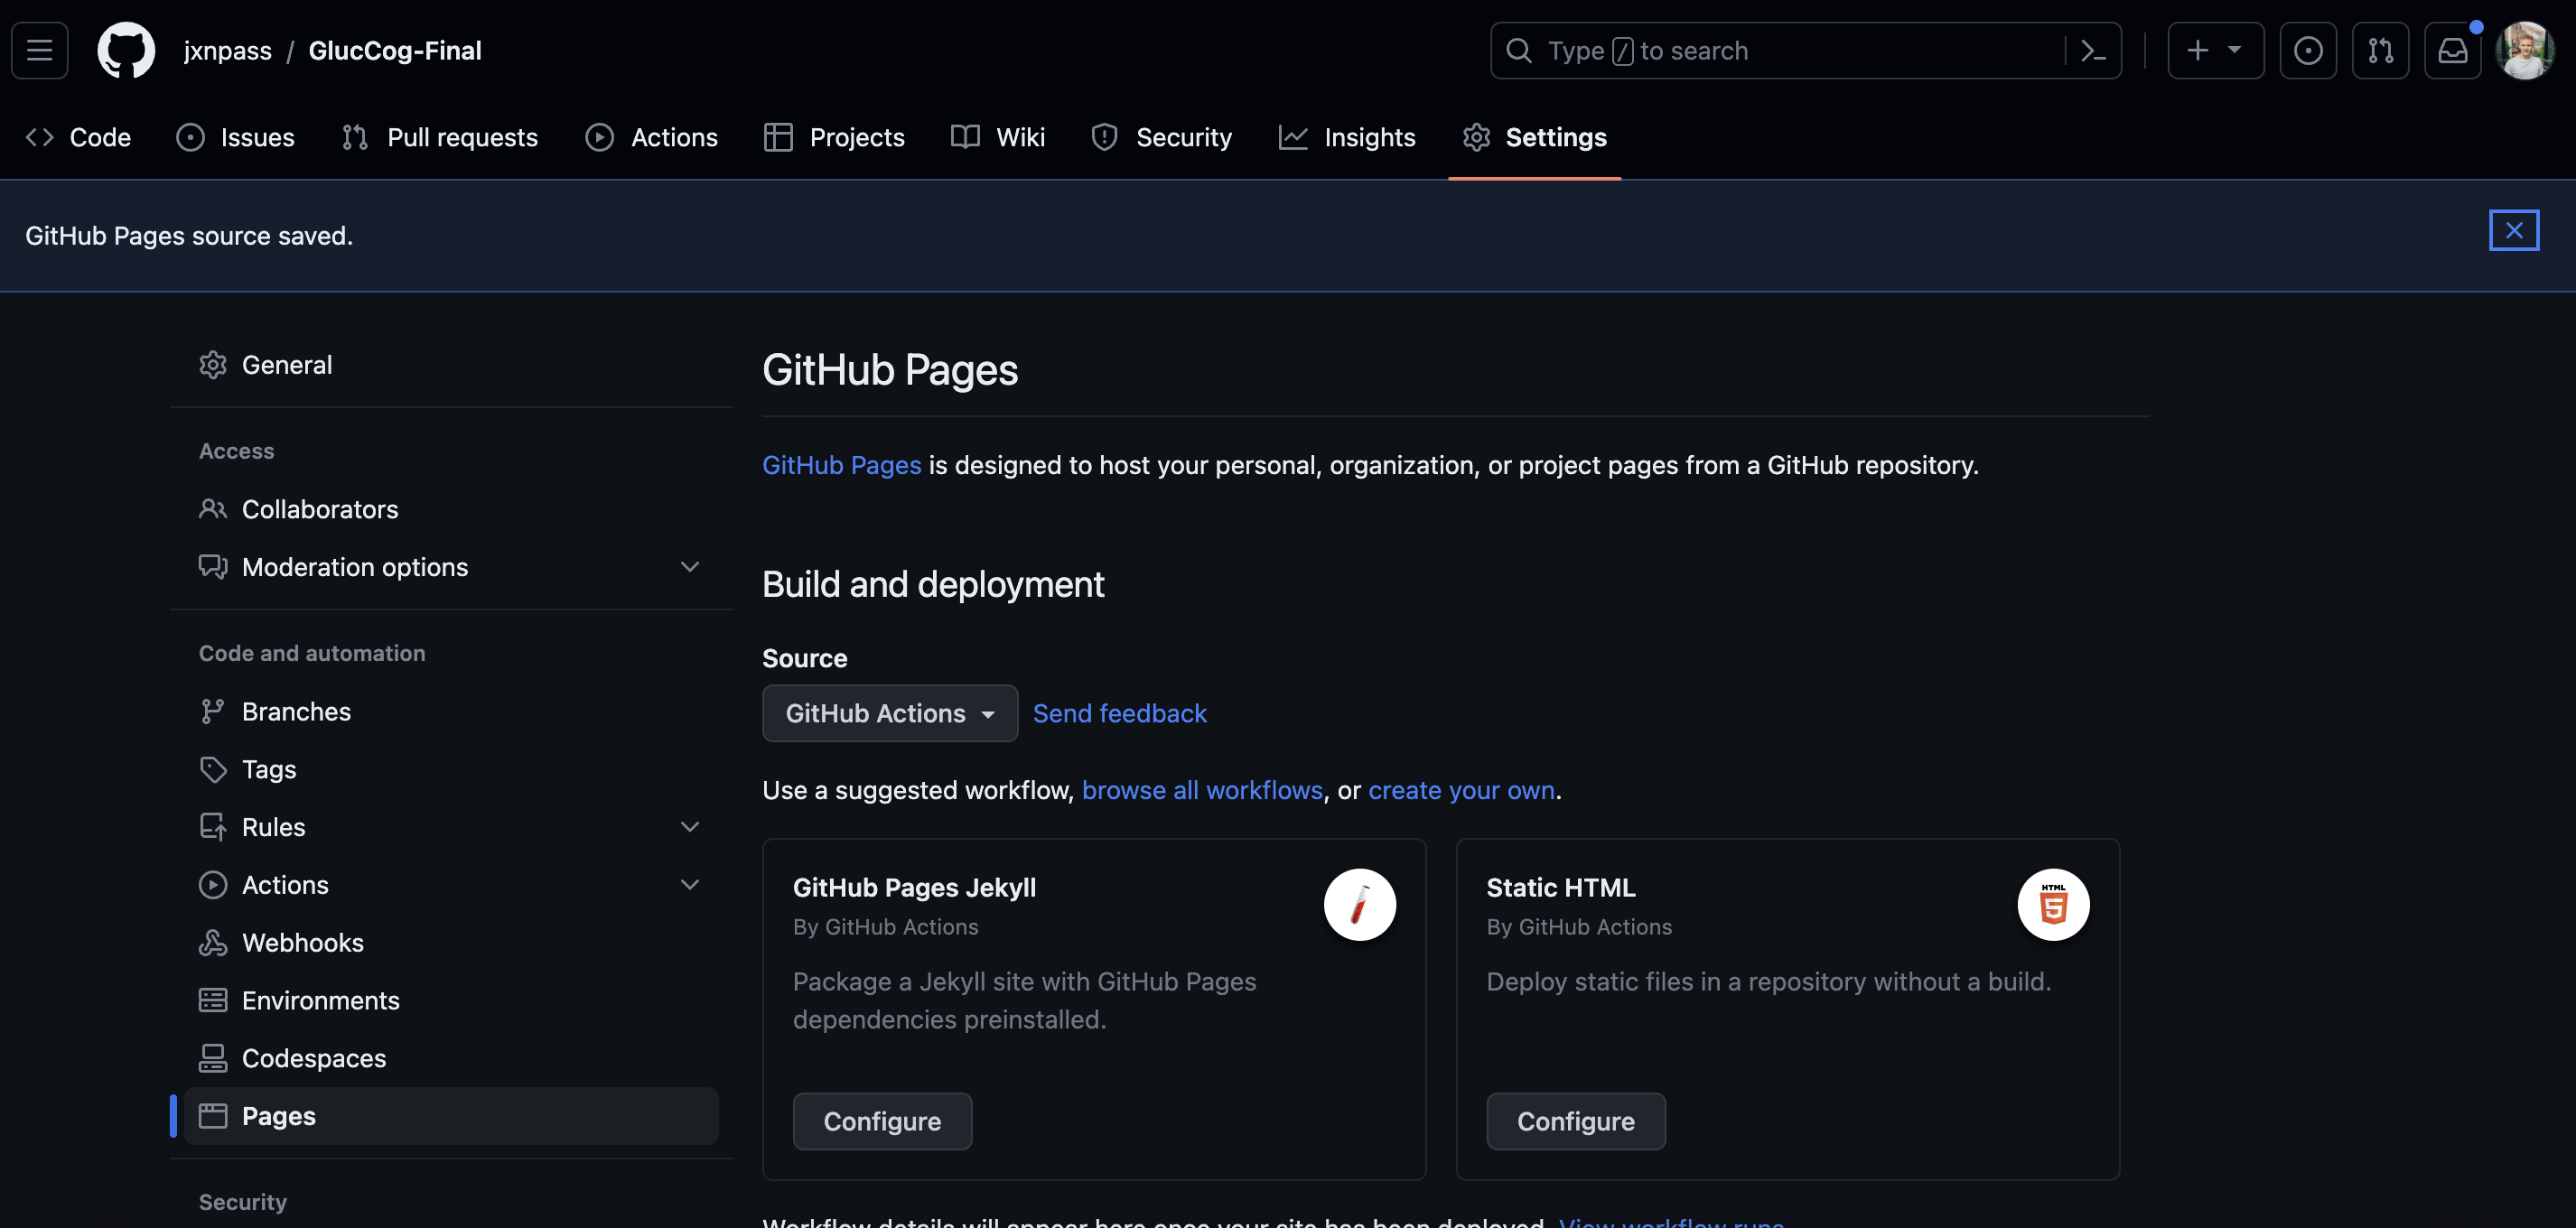
You will have two options to choose from: GitHub Pages Jekyll or Static HTML. You can then select one of them, and GitHub will navigate you to a new file with a name depending on which one you select. Then press “commit changes.” This will add a hidden file with folder .github/workflows with a new .yml file added. You don’t have to do anything with this file.
Navigate to your repository’s settings, revisit “Pages” and a link should now pop up.
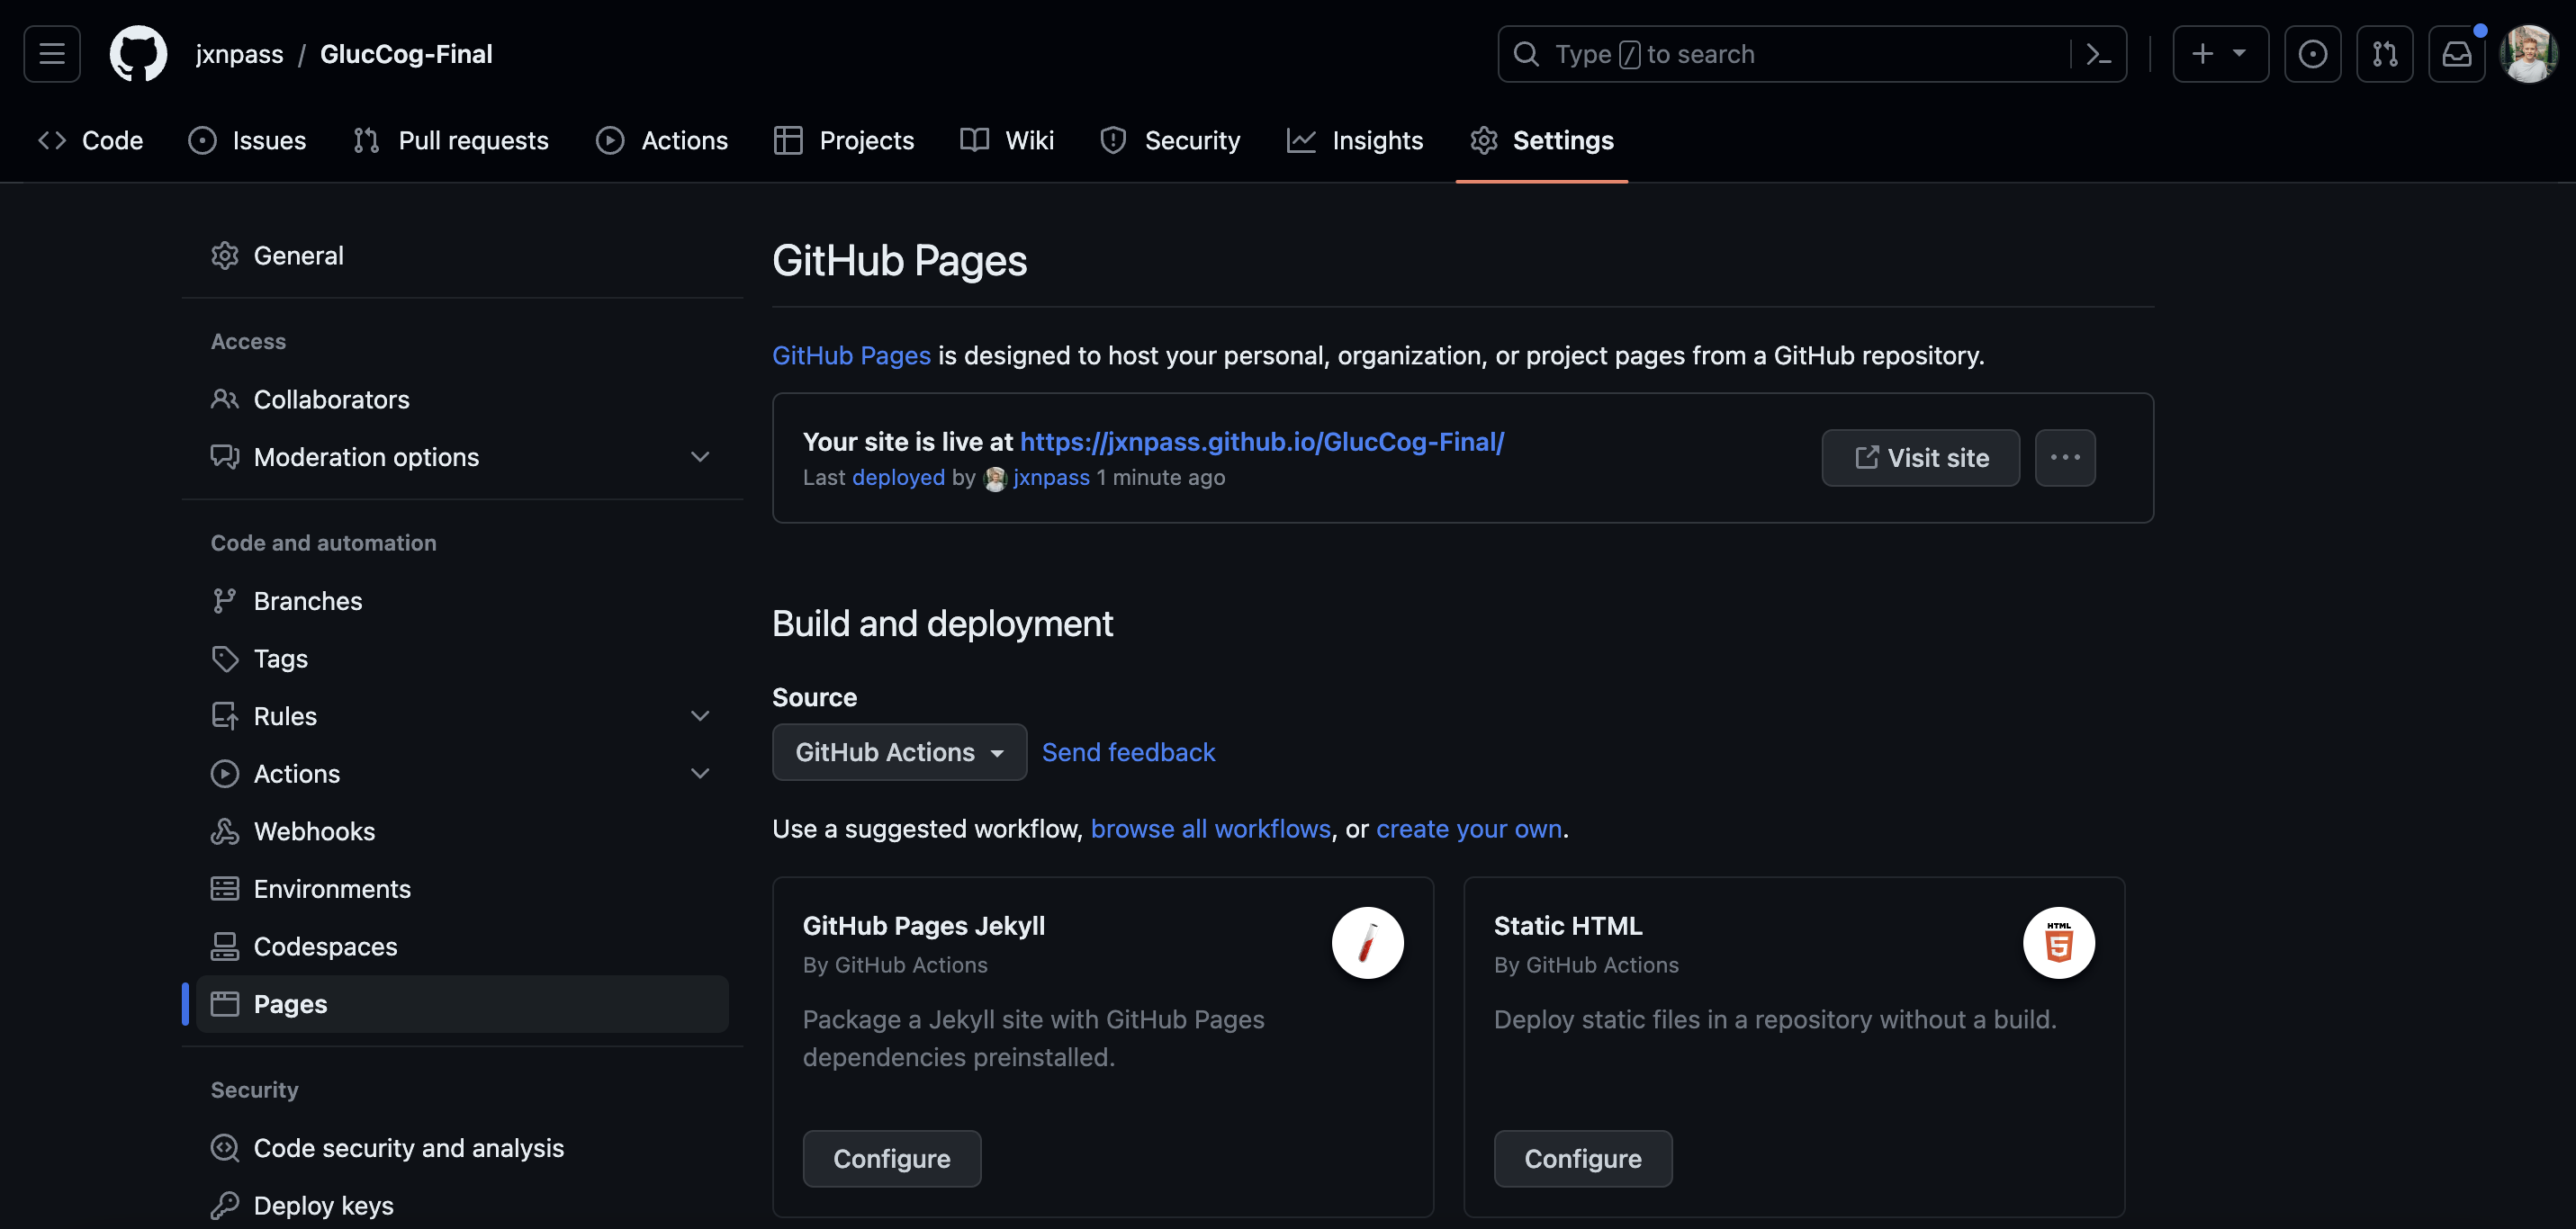
If you click on the link, it will take you to your README.md file as its own website.
Final step! You can add your link to your repository’s “about” section, found on the right from your repository’s contents. Click on the gear icon, then the box next to “use your GitHub Pages Website.”
The information I provided just scratches the surface of setting up a personal website for your repositories. For more information on setting up a blog, I recommend visiting the following sites:
Configuring a Publishing Source for GitHub Pages
Adding a theme to your GitHub Pages site using Jekyll
Video: Create an Awesome GitHub Profile Page
Build A Blog With Jekyll And GitHub Pages
What to Write
Data science employers want to know if you have the skills to follow through on the entire process of a data science project. It’s best to align the description of your project as following this process, or in other words, as conveying a set of steps that led you to your ultimate findings and discoveries.In your README.md, GitHub Page, or any other form of presentation, consider discussing your data project under this format.

- Introduction
- What is the project about?
- What were your hypotheses?
- Data collection
- Where is your data from?
- How was it collected?
- Cleaning
- How was the data cleaned?
- How did you handle situations where important data was missing?
- What did you do to the data to prepare it for analysis?
- Exploratory Data Analysis (EDA)
- What trends were discovered?
- What graphs tell interesting narratives?
- Model Deployment (and Evaluation)
- What findings were most significant, and how did they impact the hypotheses?
- What types of models were implemented into the project?
- What led you to make your final decisions?
Additional Tips:
- Pictures tell a thousands words – embed graphs into the blog/README file to augment your report
- Consider adding information about the file structure. For those employers who want to look at your coding scripts, you can link your coding scripts directly to the page/README.md
- You can showcase code chunks you feel are most impressive/important. This is especially beneficial to show off your ability to code up a modeling technique in a quick view. Example:
# Import the model we are using
from sklearn.ensemble import RandomForestRegressor

# Initiate Random Forest Model
rf = RandomForestRegressor(n_estimators = 1000, random_state = 42)
# Train the model on training data, generate predictions
rf.fit(train_features, train_labels)
predictions = rf.predict(test_features)
Step 2: Pin Your Repository on Your GitHub Profile
You can choose up to six repositories and projects show up when employers access your profile. When you access your main profile page on GitHub, you should see a place on the right of your screen that says “popular repositores” – the default if you haven’t customized your pins. Click “customize your pins” and select which projects you wish to be pinned on your profile. When you are done, your pinned public repositories will be shown on your profile like so…
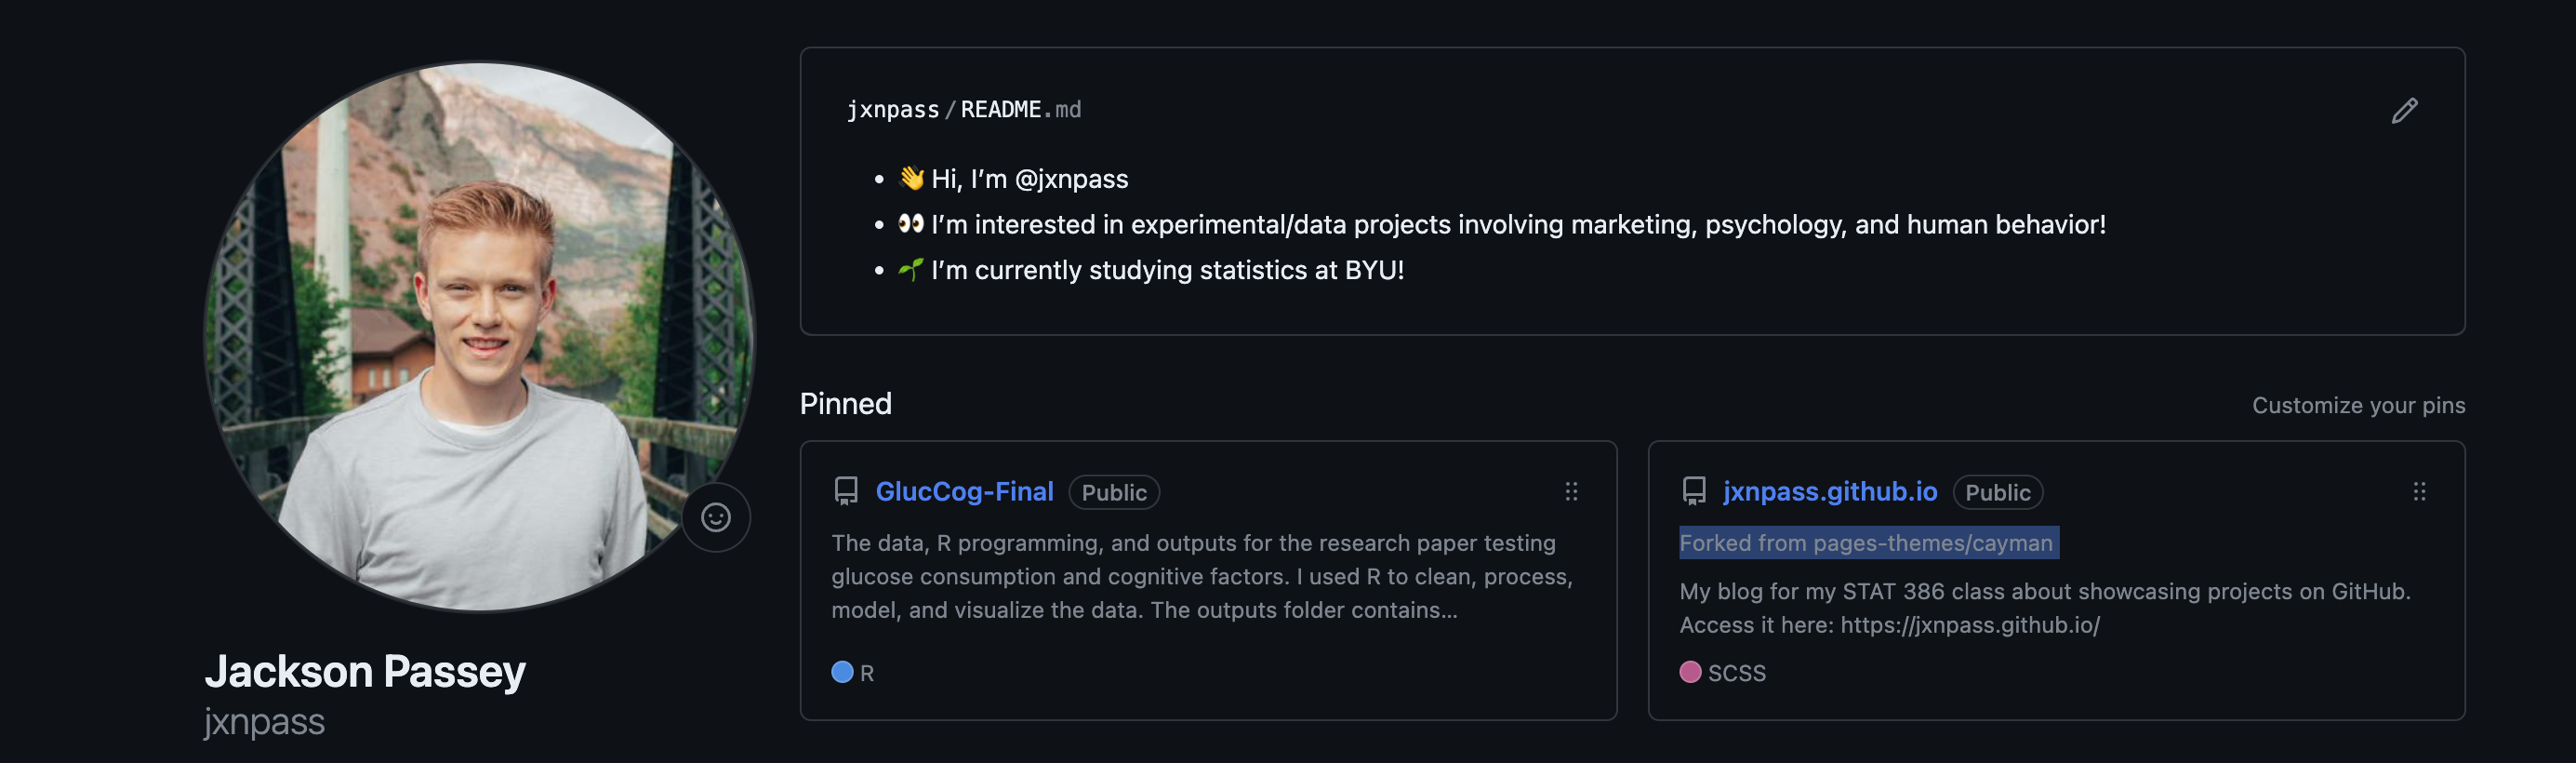
This is important to do, especially when tailoring what kind of projects you desire to showcase. You’ll notice that your projects are read by GitHub and detect the names of programming languages – a nice feature for you to share with employers the hard evidence of your coding skills.
A more in depth guide:
Step 3: Selecting Topics
Topics are helpful for classifying the contents of your project. Topics mainly have specific usage for enhancing other GitHub search results and finding specialized projects that suit their interests (see Classifying Your Repository for more uses). However, they have special benefits for employers.
Your repository can be classified in such a way that employers can see what kind of work you did, all in a quick summary. For example, did you use a deep learning algorithm to fit your data? Did you tap into a database using SQL? Did your project involve using Python packages in statistics? Did you dive into topics in aviation, finance, psychology, engineering, or any other industry? Whatever you decide to do, simplify it enough for others to know what was involved generally in your data project.
My Advice on Configuring Topics:
- Keep the number of topics you list minimal. While it widens the depth by which it pops up on a search feed, it complicates the about section of your repo. Know those annoying social media posts with 30+ hashtags? Don’t be one of those people
- Best way to maximize the efficiency of the topics section is to have one each listing the programming language(s), project topic/industry, main modelling technique(s), and one read simply as “data-science” or “data-analysis”
- Check out GitHub’s Trending and Popular Topics to see what kind of projects people are most excited about. Your recruiter will be impressed if your work is matching trends within the coding community
Step 4: Link GitHub to Your LinkedIn Profile and Resume/CV
When you’ve put in all this work on your GitHub before applying for job/internship applications, it is important to make sure that employers know you have a GitHub profile. At this point, having just one or two refined repositories can strengthen your profile tremendously.
Resume/CV
Your resume is like your “elevator pitch” for a recruiter, meaning that the space on your resume is valuable. Typically, applicants include their GitHub profile on the header of their resume, seen below as an example.

There are plenty of other options to consider:
- Link your repositories/projects under the Projects section of your resume
- List GitHub skills in your application or cover letter
- Mention a GitHub repo as a bullet point for a related work experience
Ultimately, your resume has to persuade the recruiter to consider your projects on GitHub as an important part of assessing your skillset. Consider the possibility that you get a job interview. The interviewer will likely read over your resume before or during the interview. If you reference your GitHub on your resume and prepare your profile/repos for a quick read, as well as prepare some verbal statements about each project, then you increase your chances of nailing your interview.
Many jobs are also offered through LinkedIn, and if you choose to apply using your LinkedIn, then implementing your GitHub projects can improve your application. To add your projects to your LinkedIn profile, navigate to your personal profile.
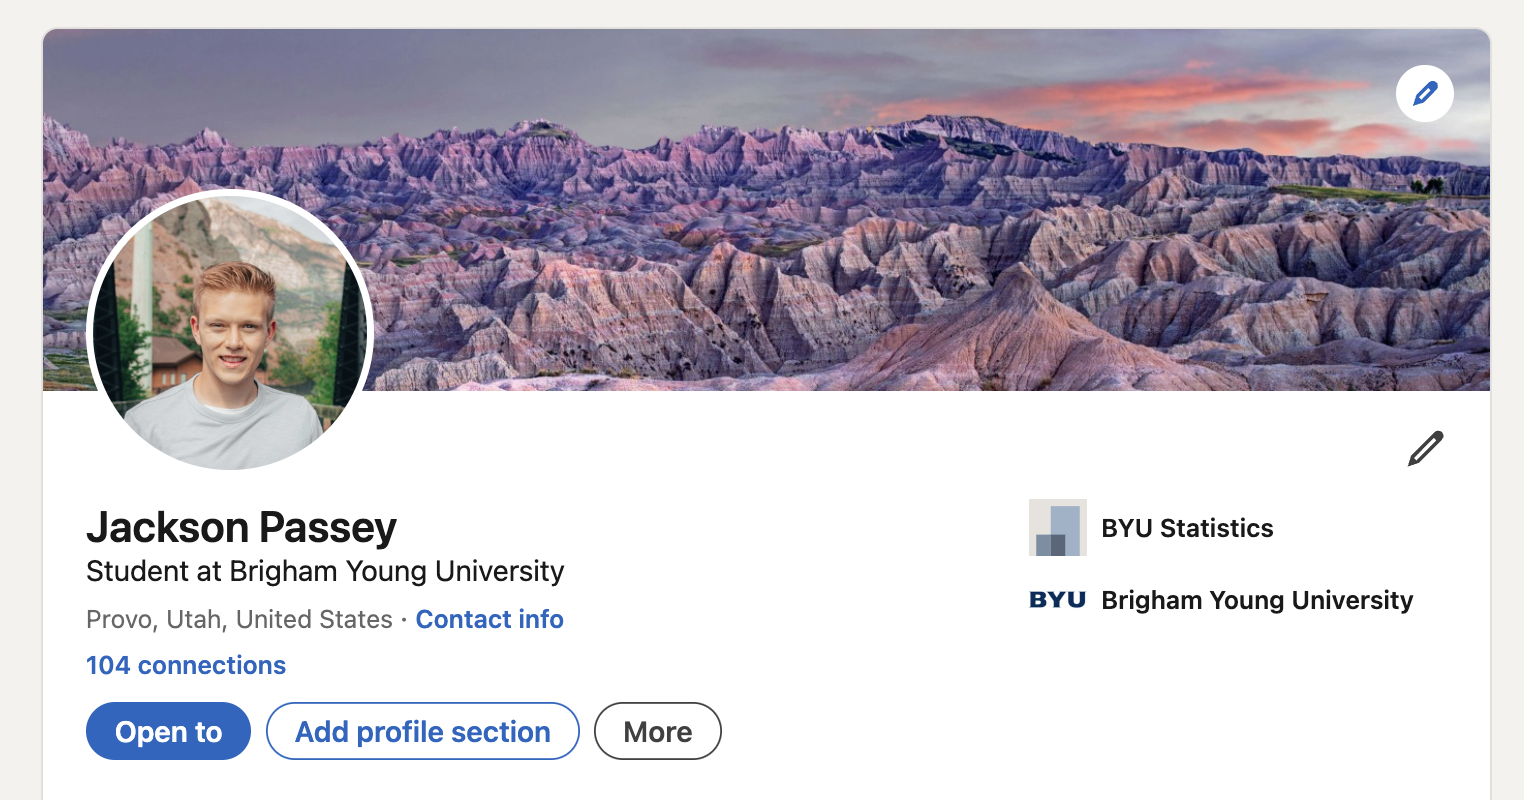
Click on “Add Section”, and circulate through the dropdown arrows until you find where it says “Add Projects.” You can then add a title and description for your project. After filling in your details, click on “Add Media.”
LinkedIn will give you the option whether to reference a link or a folder. Since your project is on GitHub, you will want to cite a link.
The prompts ask you for a description of what the link leads to. You can also select a thumbnail.
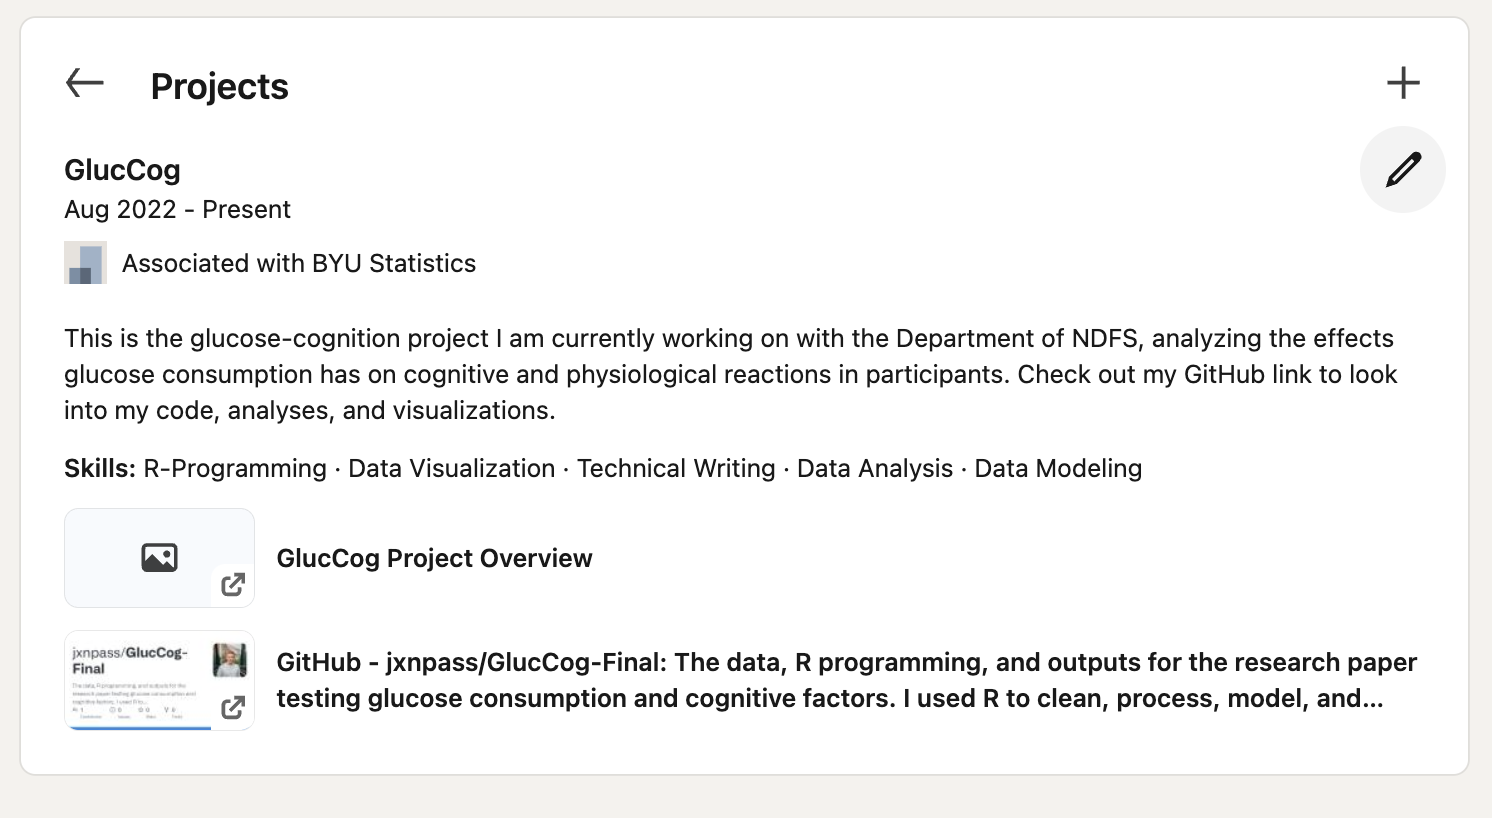
LinkedIn uses a unique feature when citing GitHub. When you use the link to the root file path of your repository, it will automatically fill in the details with the name, description, and a thumbnail showing some GitHub collaborative statistics.
Ultimately, I recommend citing at least two links for your project:
- The source to your repository (github.com/username/name-of-repo/)
- The source to your page/README, if applicable (github.io/username/name-of-repo/)
Your finished product could look something like this, found directly under your LinkedIn profile.
Conclusion
GitHub is a remarkable tool to easily showcase your work and enhance your opportunities to land a job. Keeping content concise, digestable, and on-topic is essential for your pitch to recruitiers. Running through your GitHub profile is completely optional for a recruiter, but convincing one that your GitHub profile provides valuable information about your data science skills can persuade one to set up interview appointment. Finally, embedding your resume and LinkedIn profile with projects can aid in the interview process, providing quick references to an easy to read description and proof of coding and statistical skills.
You can complete these four steps under your own form of creativity and personal needs, but applying the principles taught will accelerate you further into data science industries. For those aspiring data science students new to GitHub, try and follow these four steps. To those who are more experienced, consider ways to creatively flex your work, and feel free to send me some tips!